Reviewing & refining your assistant
Adjust the name, instructions, and data context Norami set up automatically.
Norami sets your assistant up automatically after you import data. This page covers making it yours — its identity, how it responds, and how well it understands your data.
Edit name, description & instructions
The easiest place to refine your assistant is Datasets — your data and your assistant's setup live side by side there, so you can edit and check the result in one place.
Open Datasets
Open the menu at the bottom of the sidebar and choose Datasets.

Update the details
Update the name, description, and instructions — how it should answer: tone, what to emphasize, and any house rules.
Save
Save your changes.
Admins can also edit the same settings from Workspace → Bots → Edit, which additionally offers an emoji, an accent color, and suggested prompts (the example questions people see when they start chatting).
Teach it about your data
From the same detail panel, open the AI Context Editor — "Describe your data so the AI can answer questions accurately." It has two tabs:
- Data Meanings — a description for every column in your data: what it means and, where useful, its unit. Suggest All drafts them for you, so you only need to correct the ones that matter.
- Bot Intelligence — your Business Glossary (your company's own terms and shorthand) and Dataset Relationships (how your files relate to each other).
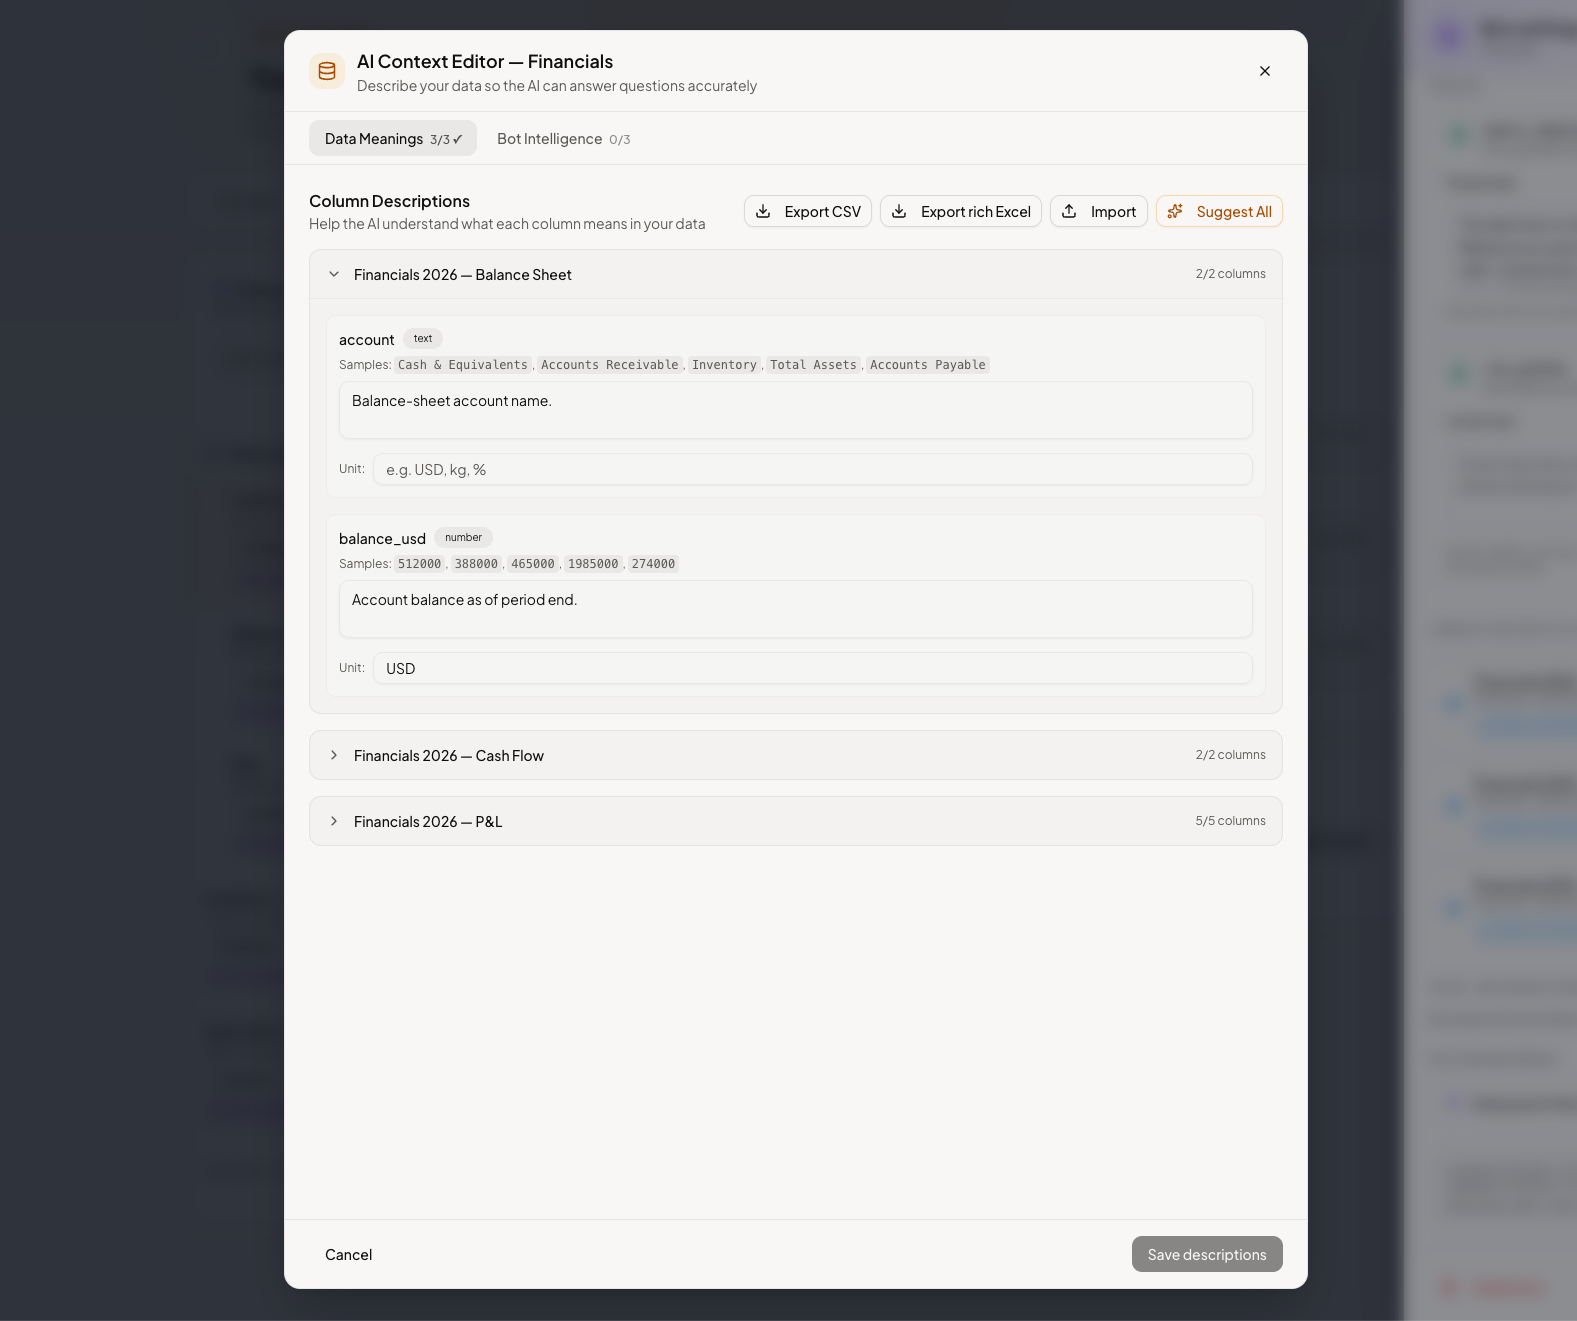
Small edits go a long way. A one-line column description — "Revenue is in CLP, tax included" — can fix a whole class of wrong answers.
Advanced settings
The edit screen also has advanced settings for the model and response length. The defaults are right for almost everyone, so only change these if you have a specific reason to.